Alongside the free catalog from omeka.org, we build our own modules and themes for hosted sites: things like page versioning, an audit trail, a blog, and oral-history tools. They are included with your plan, and you install them the same way as anything else.
Browsing the catalog
Click Premium Modules or Premium Themes in the menu. There's a tab for each platform, Omeka S and Omeka Classic, because many of our modules and themes come in an edition for each and share a name. It opens on Omeka S, or on Omeka Classic if all your sites use it. Click a tab to switch between them. Each card shows the module's name, the platform it runs on, its newest version, and a short description. Use the search box to find one by name or description.
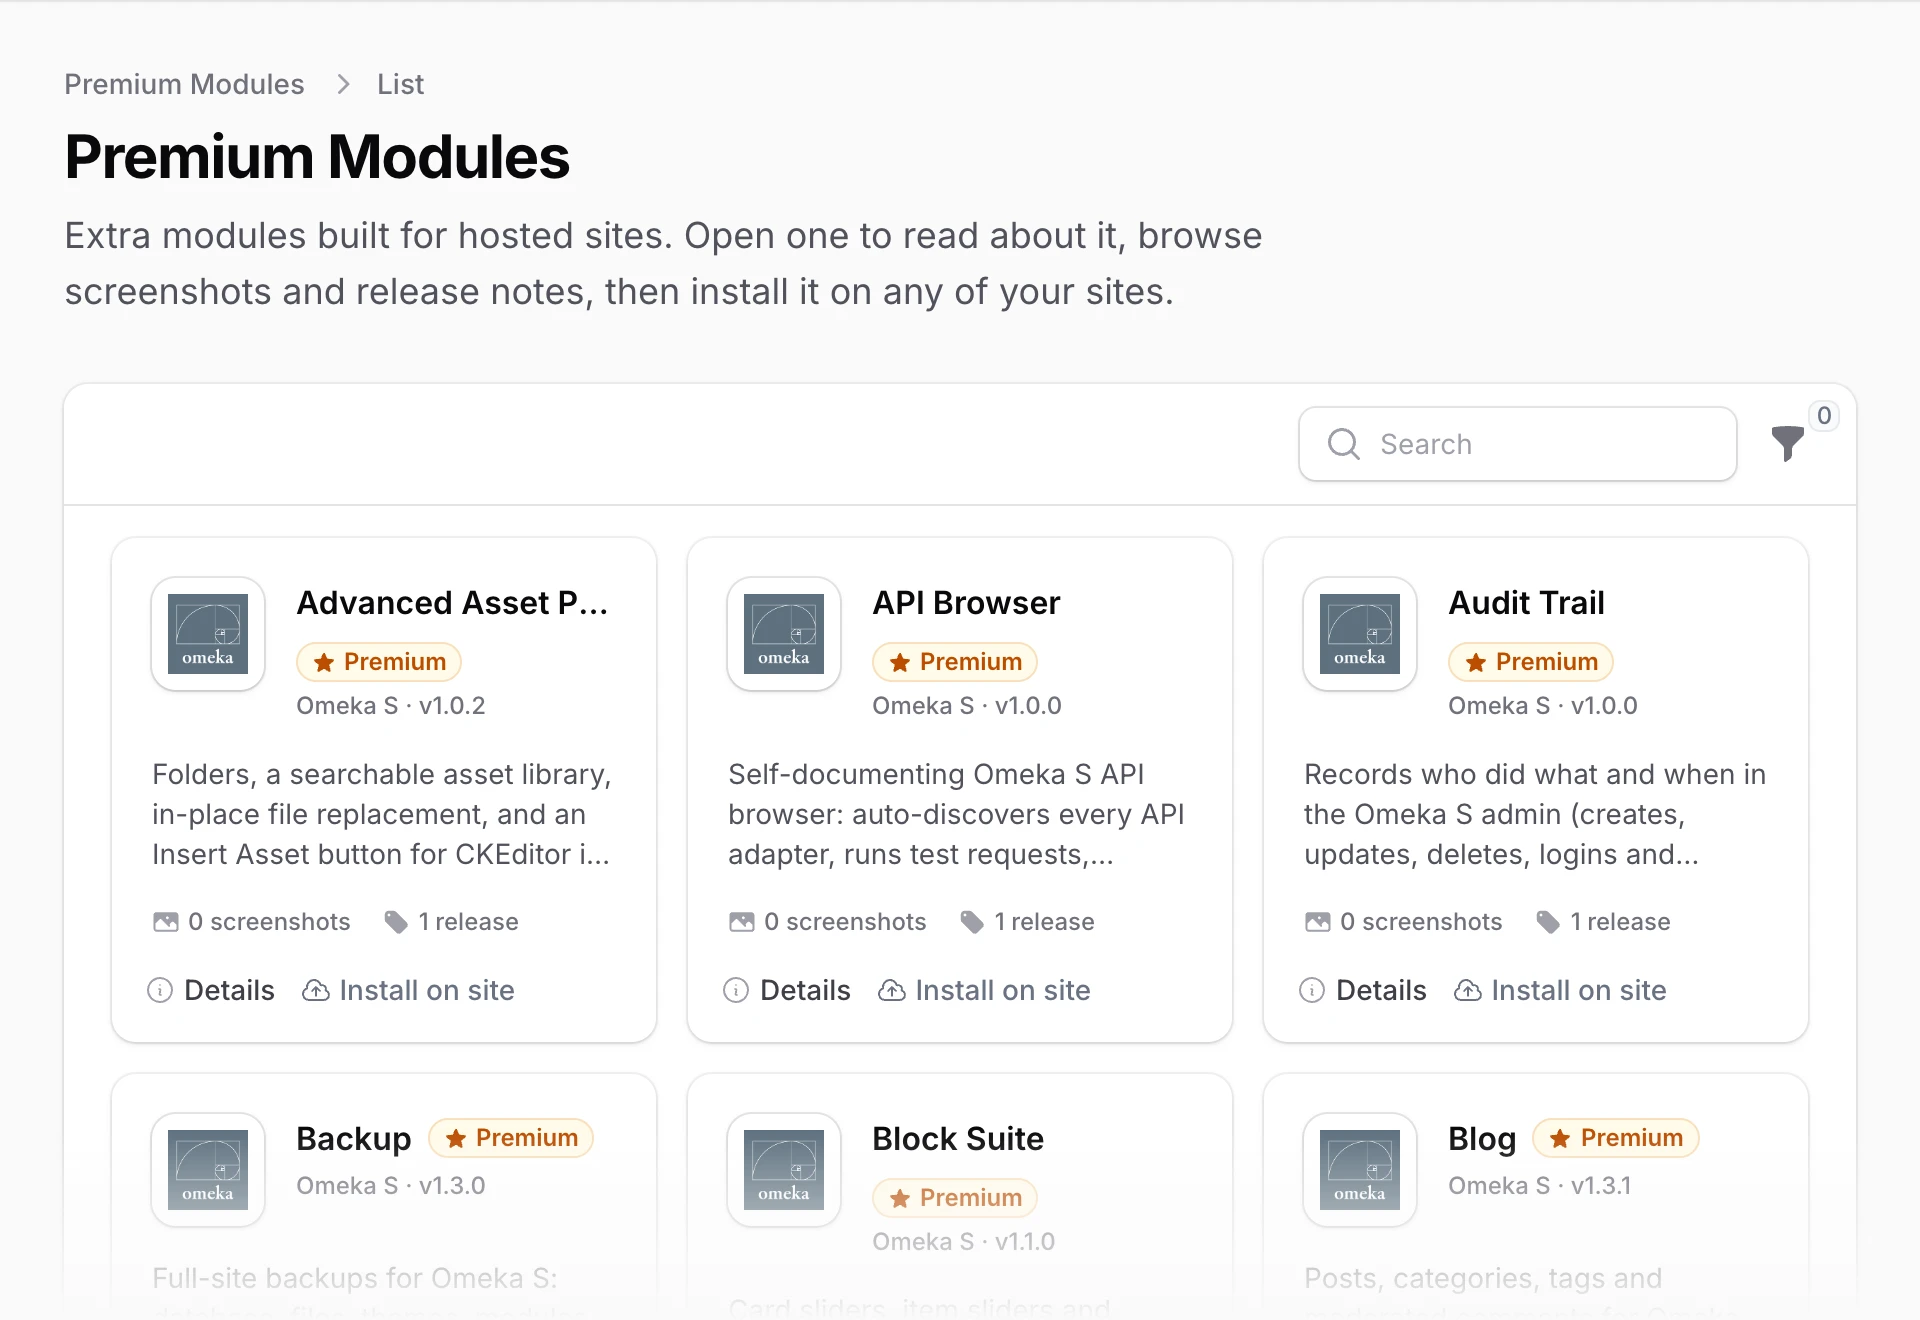
Click Details to learn more about one. Its page has:
- Screenshots across the top, when there are some. Use the arrows or the small pictures underneath to move between them, and click one to open it full size.
- About and Release notes tabs, with a full description and the notes for each version
- Installed on your sites, so you can see where it is already running
At the top of that page are buttons for Install on site and, when the module has them, its Homepage and Documentation. Many premium modules have their own guides, listed in the sidebar of these docs.
Installing on a site
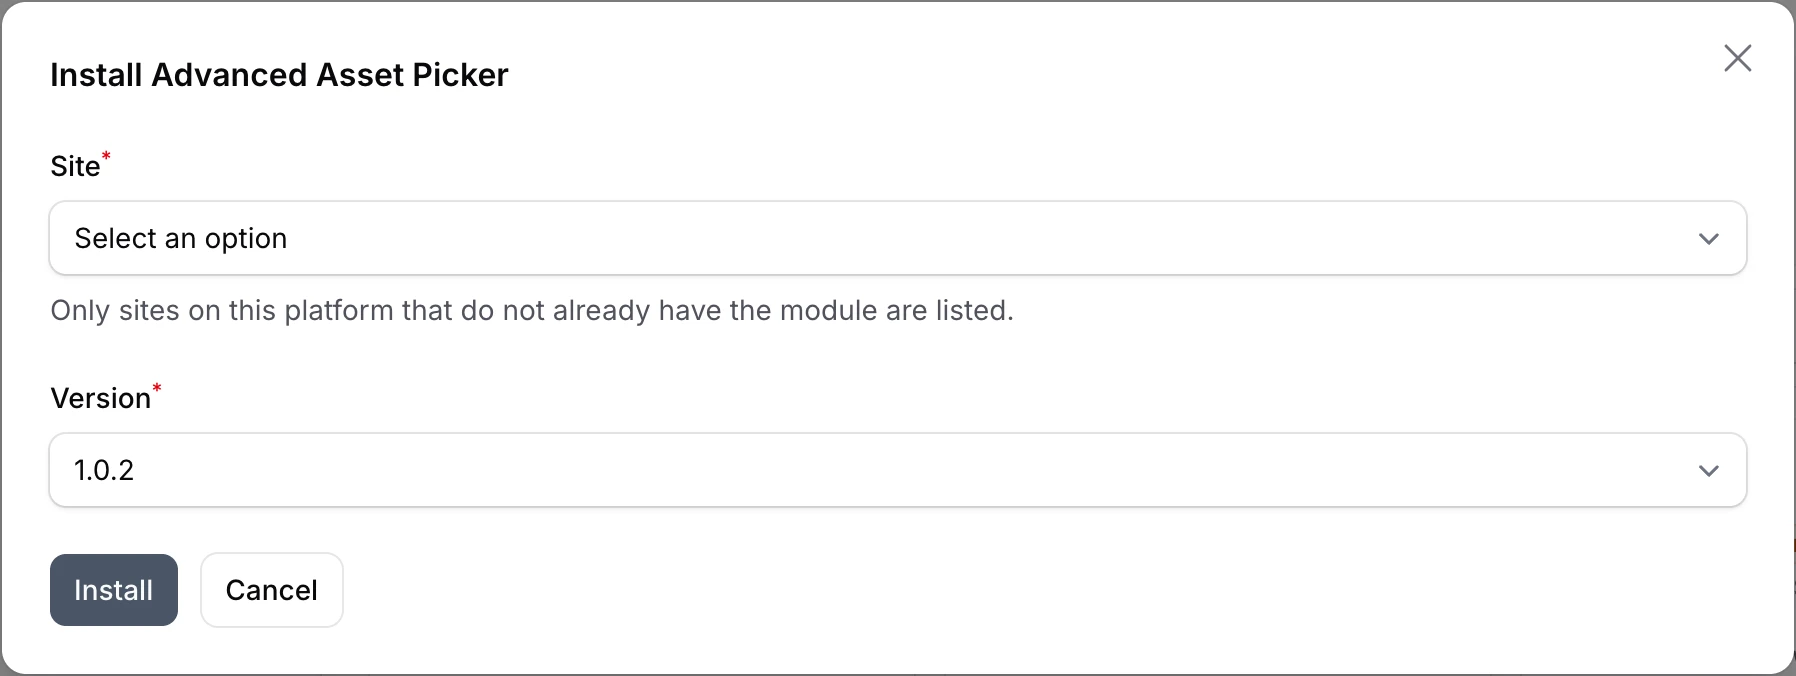
Click Install on site, either on the card or on the Details page. A small window asks for:
- Site, listing your sites on the right platform that do not already have it
- Version, set to the newest
Click Install. A notification confirms the installation has started, and after a short wait the module appears on that site's Modules page under Installed.
You can also install premium items from a site's own Modules or Themes page, where they show up on the Available tab with a Premium badge. See installing modules and themes.
As with any module, switch it on in the Omeka admin after it is installed: in Omeka S, go to Modules and click Install next to it. In Omeka Classic, where modules are called plugins, go to Plugins instead.
Restyling a premium theme
Every premium theme comes with style presets, and the Design Studio module lets you try them beside a live preview of your own site, along with colors, fonts, the header and footer, and the rest of the theme's settings. Install Design Studio on a site that uses one of our themes (Vitrine, Confetti, Plinth or Overprint), then click Customize this site at the bottom left of your public pages, or Customize in the site's Omeka admin menu.
Your changes are saved as a private draft that only you can see. When you like the result, click Publish and visitors see the new look on their next page view. Design Studio's own guide covers every setting.
Updates
New versions of premium modules show up on their own. Your sites keep the version they have until you choose to update, which works just like any other module. See managing versions.
Have an idea for a premium module, or a feature you would like in one? Open a ticket and choose Feature Request. We read every one.