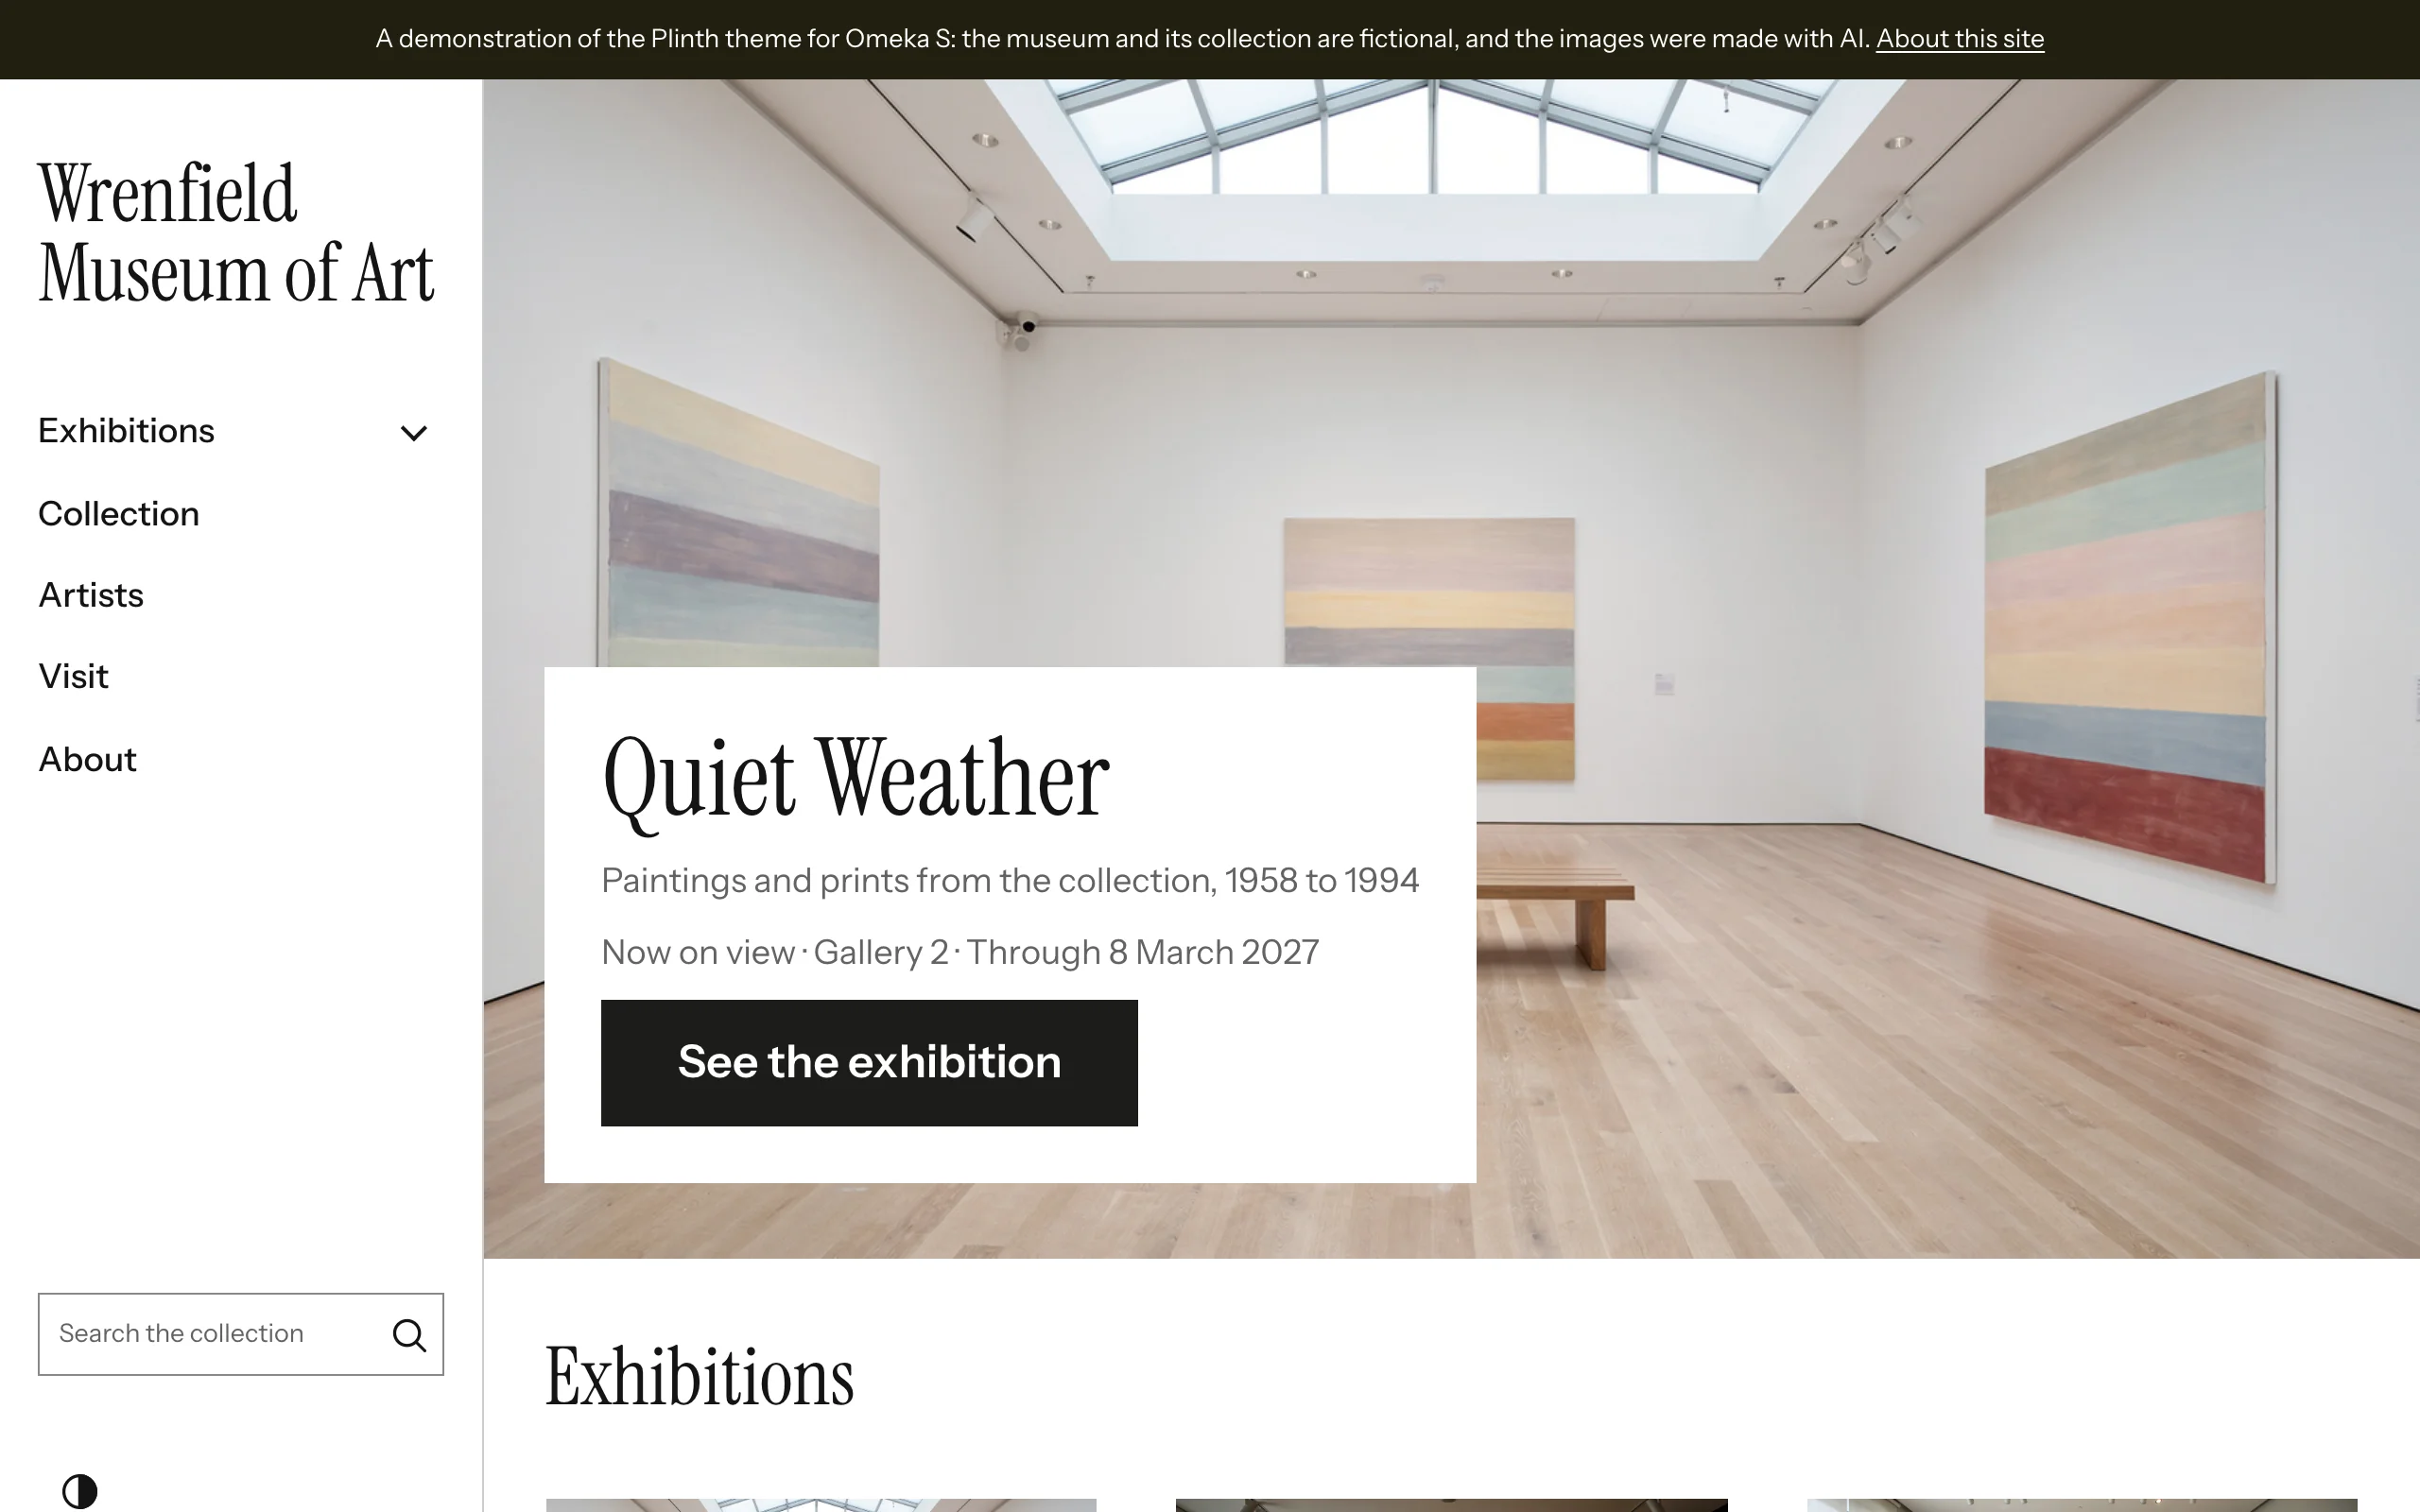
See Plinth on a working site: the Wrenfield Museum of Art, a small art museum with paintings, prints, photographs, sculpture and ceramics.
Requirements
- Omeka S 4.2 or later
- PHP 8.1 or later
Plinth has no other requirements. Its fonts, icons and scripts are included and served from your own site.
Installing
- Unzip the theme and copy the
plinthfolder into thethemes/folder of your Omeka S installation. - In the admin, open your site and choose Theme.
- Select Plinth and click Save.
- Click Edit theme settings and choose a preset. See First steps.
The theme is now used by that site. Each site in your installation chooses its theme and keeps its own settings.
Optional companions
- Design Studio adds a live-preview customizer: change settings beside your site and publish when you are ready.
- BlockSuite adds hero, call-to-action, statistics, timeline, slider, tabs and accordion blocks.
Upgrading
Replace the themes/plinth folder with the new version. Settings are stored with each site, so they are kept. Read the changelog for anything new to set up.
Switching from another RefBytes theme
Block templates and page templates have the same names in every RefBytes theme, so pages built with Vitrine or Confetti keep their templates in Plinth, drawn in Plinth's style. Theme settings are stored per theme: after switching, choose Plinth's preset, logo and footer once.
The arrangement of item pages (Configure resource pages) is stored per theme too, and Plinth starts from its own: the work in the main column with its wall label beside it. See Item pages and wall labels.